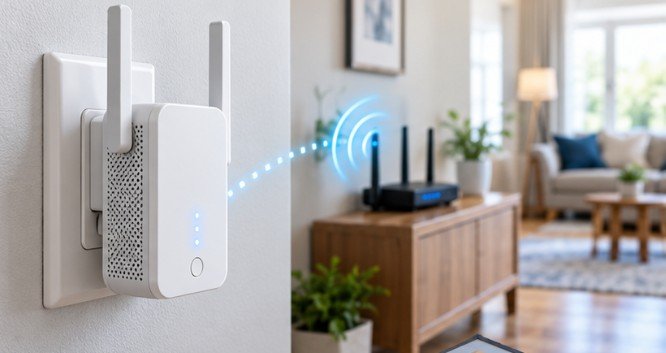
A Wavlink extender does not need a working internet connection for you to reach its settings page. That detail solves one of the most common setup misunderstandings: your phone or laptop only needs to be connected directly to the extender.
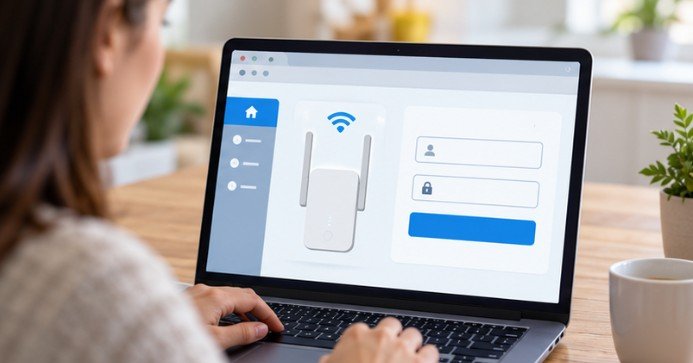
If you are learning how to do wavlink wifi extender login, start by connecting to the extender’s WiFi, open a browser, and enter 192.168.10.1 in the address bar. On many models, the default management password is admin. Wavlink’s current documentation also shows that login addresses can vary by model and firmware, so the label on the device remains an important reference.
What the Wavlink Login Page Actually Does
The extender login page is a local management interface rather than an ordinary website. That distinction matters. Typing the management address does not send you to a public webpage somewhere on the internet. Your browser communicates directly with the Wavlink extender connected to your local network. Wavlink confirms that its management interface can work even when the extender itself has no internet access.
Once inside the dashboard, depending on the model, you may be able to change the extended network name, wireless password, operating mode, security settings, channel configuration, and firmware.
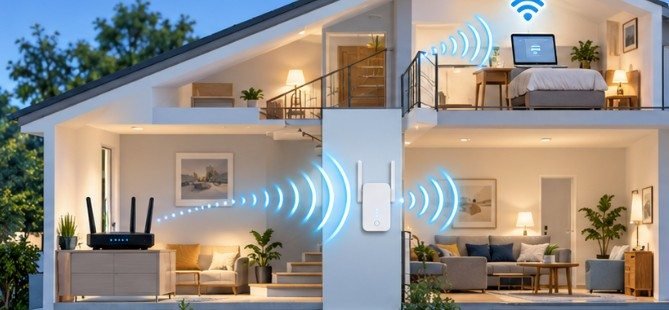
This is also where you would usually troubleshoot an extender that connects successfully but provides poor performance upstairs. If coverage is the larger problem, see this practical explanation of how to improve WiFi signal upstairs.
How to Do Wavlink WiFi Extender Login Step by Step
The safest approach is to begin locally instead of trying random Wavlink login domains found in old setup articles.
1. Connect Directly to the Wavlink Extender
Plug the extender into power and allow it to finish starting.
On your computer, phone, or tablet, open the available WiFi networks and connect to the network broadcast by the Wavlink device. Its default SSID is often printed on the product label.
If your model includes a LAN port, you may also connect a laptop or desktop with an Ethernet cable. Wavlink supports both wired and wireless access to its management interface.
Do not worry if your device displays “No internet” or “Connected without internet.” During initial configuration, you may still be able to reach the extender’s local administration page.
2. Open the Login Address
Launch Chrome, Edge, Firefox, Safari, or another modern browser.
Type the following directly into the browser’s address bar:
http://192.168.10.1
Then press Enter.
Avoid entering the address into a Google or Bing search box. Doing so may produce search results rather than opening the extender.
Several Wavlink support pages identify 192.168.10.1 as the default management IP.
3. Use the Correct Administrator Password
If the extender is still using factory settings, many Wavlink models use:
Password: admin
Some interfaces may request both a username and password, while others display only a password field. Wavlink documentation shows variations between products and software versions.
If you previously changed the administrator password, use the password you created rather than the factory default.
4. Enter the Dashboard
Select Login or Sign In.
You should now see the extender’s management interface. Before changing anything, note the current WiFi name, operating mode, security configuration, and connection status.
If you regularly manage networking devices through browser interfaces, keeping setup pages organized can save time. This method for organizing browser bookmarks can help you store legitimate device-support pages without accidentally revisiting unofficial login sites.
Should You Use wifi.wavlink.com?
This is where Wavlink instructions become slightly confusing. Some official Wavlink documentation still lists wifi.wavlink.com as a possible management address. However, another Wavlink article specifically states that the hostname is no longer applicable for newer software and recommends using the device IP instead.
For that reason, I would use this order:
- Check the extender’s label or manual.
- Try 192.168.10.1.
- Use a model-specific hostname only if Wavlink documentation for that exact device specifies one.
- If the extender is already connected to your router, determine the IP assigned to it by the router.
Other Wavlink models may use addresses such as waplogin.link or ap.setup, so there is no single domain name that should be assumed to work on every device.
Check the Default Gateway
A configured extender may receive another local IP address from your primary router.
On Windows, open Command Prompt and enter:
ipconfig
Look for the default gateway associated with the connection.
You can also log in to the main router and inspect its connected-device or DHCP list. Match the extender’s MAC address, usually printed on its label, with the corresponding IP address.
Wavlink specifically recommends checking the primary router’s DHCP list if 192.168.10.1 no longer reaches the extender.
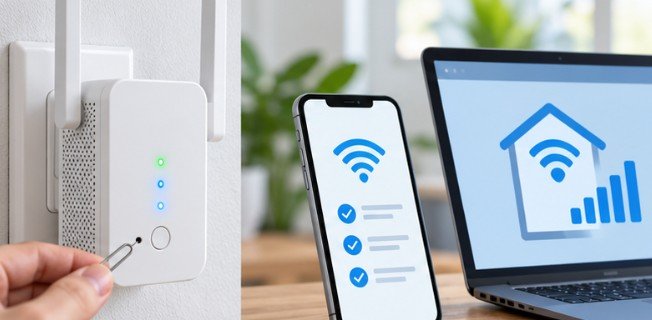
Reset the Extender Only as a Last Resort
A factory reset can restore access when you have forgotten the administrator password, but it also deletes the extender’s configuration.
Wavlink’s own instructions vary slightly by product, commonly describing reset-button holds of roughly six to ten seconds. Rather than assuming a universal duration, check the instructions for your specific model before resetting it.
After the reset, the extender must normally be configured again, including its connection to your primary WiFi network.
Frequently Asked Questions
1. What address should I use for how to do wavlink wifi extender login?
Start with 192.168.10.1 while connected directly to the extender. Some models use another address, so check the product label or model-specific documentation.
2. Why does 192.168.10.1 say there is no internet?
It is a private local address, not a public website. You can often open the extender dashboard even when the extender itself has no internet connection.
3. Is admin always the Wavlink extender password?
No. admin is a common factory default on many Wavlink models, but a previously configured extender may use a password created by the owner.
4. Will resetting the extender fix a forgotten login password?
Usually, but a factory reset also removes your saved WiFi and extender configuration. Check your model’s reset instructions before doing it.
Final Thoughts
The crucial point is surprisingly simple: reaching a Wavlink extender is primarily a local-network task, not an internet task. Connect directly to the extender first, use 192.168.10.1, and confirm the model-specific credentials before troubleshooting anything more complicated.
If the familiar login address stops working after setup, look for the extender’s new IP in your router rather than repeatedly resetting the hardware. Once access is restored, replace default credentials and check for firmware updates. A few minutes spent securing the dashboard can prevent the convenient setup password from becoming the weakest point on your home network.