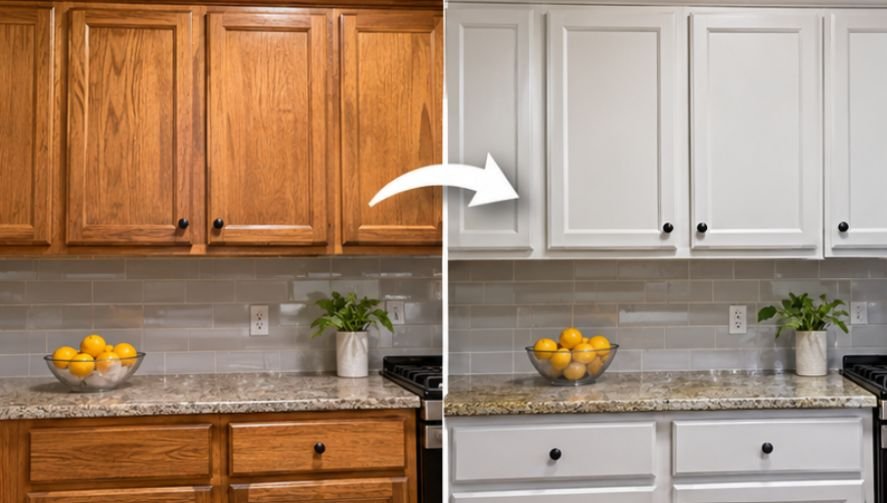
A kitchen cabinet makeover does not have to involve harsh chemical strippers, clouds of sanding dust, or weeks of disruption. In fact, many cabinets can be successfully repainted while keeping their existing finish intact.
Learning how to paint kitchen cabinets without stripping them starts with understanding one important detail: paint needs a clean, stable surface more than it needs bare wood.
With the right preparation, bonding primer, and cabinet-grade paint, homeowners can transform outdated cabinetry without replacing perfectly functional cabinets. The secret is choosing a painting method that matches the existing material and finish.
Can You Really Paint Cabinets Without Removing the Old Finish?
Yes. Most structurally sound cabinets can be repainted without removing their original varnish, stain, or paint.
Modern bonding primers and specialized refinishing coatings are formulated to adhere to previously finished surfaces. However, successful adhesion depends on removing grease, checking the existing coating, and following product instructions.
Kitchen cabinets experience constant contact with cooking oils, moisture, cleaning products, and fingerprints. These contaminants can prevent fresh paint from bonding.
An effective makeover therefore focuses on surface preparation rather than aggressive finish removal.
Check Whether Your Cabinets Are Suitable
Before buying paint, inspect the cabinet doors and frames.
- Solid wood cabinets are generally excellent candidates for repainting.
- MDF cabinets can be painted if their surfaces are intact and free from swelling.
- Laminate cabinets require coatings specifically approved for laminate surfaces.
- Thermofoil cabinets may need professional evaluation if the vinyl covering is peeling.
- Cabinets with water damage, loose veneer, or deteriorating finishes may require repairs first.
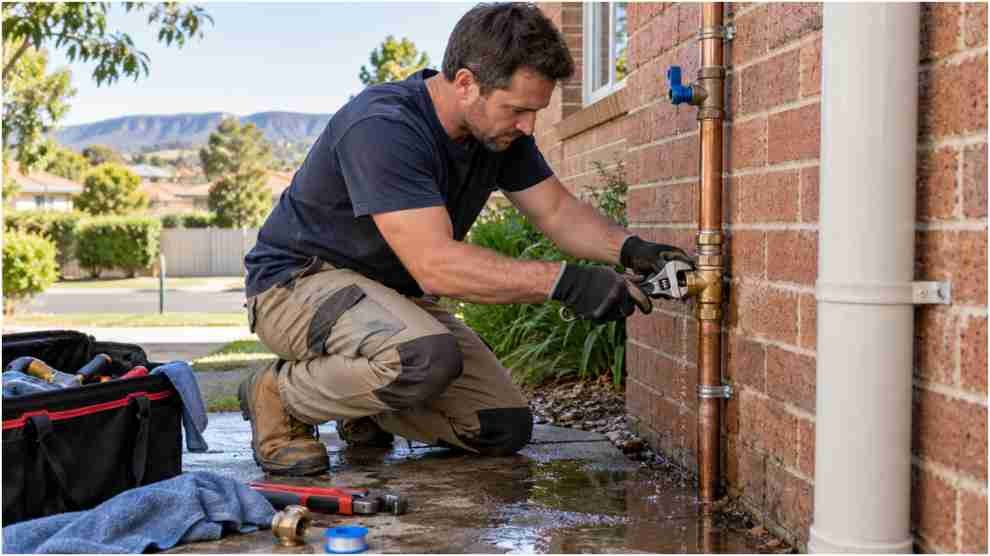
Before starting a kitchen makeover, it is also worth addressing any leaking pipes or plumbing needs that could expose cabinets to moisture and cause further damage.
A simple inspection can prevent wasted materials and disappointing results.
Two Painting Methods That Avoid Traditional Stripping
Homeowners generally have two practical options: an all-in-one refinishing coating or a separate bonding primer and cabinet enamel.
Method 1: All-in-One Cabinet Refinishing Paint
Products such as Beyond Paint and NuVo Cabinet Makeover kits are marketed as alternatives to traditional sanding-and-priming systems.
Depending on the product, these coatings combine adhesion-promoting ingredients with a decorative finish.
The process typically involves thoroughly cleaning the cabinetry, applying the coating with recommended tools, and allowing sufficient drying time between coats.
This approach can simplify a smaller renovation, particularly when the existing finish is stable.
However, claims such as “no sanding” or “no priming” do not eliminate the need for cleaning, compatibility checks, or adhesion testing.
Method 2: Liquid Deglosser and Bonding Primer
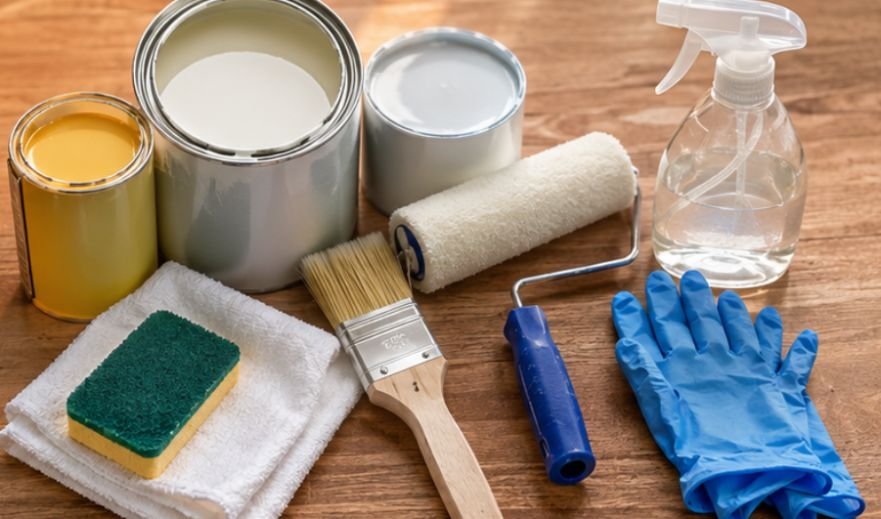
For homeowners seeking a traditional painted-cabinet appearance, a liquid deglosser followed by a bonding primer offers another option.
Liquid deglossers chemically prepare compatible glossy finishes without extensive sanding. They do not necessarily remove the underlying polyurethane or varnish.
After deglossing, a compatible high-adhesion primer creates a foundation for cabinet enamel.
Products such as Benjamin Moore STIX and Zinsser B-I-N are commonly considered for difficult surfaces, although their suitability varies by substrate.
This method generally requires more steps but allows greater flexibility in choosing paint colors, finishes, and coating systems.
How to Paint Kitchen Cabinets Without Stripping Them: Step-by-Step
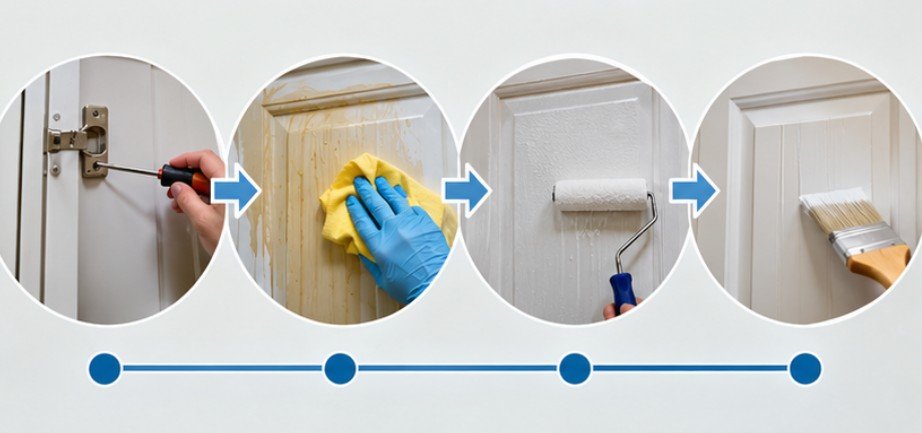
A lasting cabinet makeover depends on performing each stage carefully rather than rushing directly into painting.
Step 1: Remove Doors, Drawers, and Hardware
Unscrew cabinet doors, remove drawers, and detach handles or knobs.
Label each component using painter’s tape and a numbering system. Keep screws and hinges together in labeled containers.
Cover countertops, appliances, and floors with protective materials. Establish a ventilated workspace where cabinet doors can remain undisturbed.
Step 2: Remove Cooking Grease and Residue
Use a cabinet-safe degreaser to remove cooking oils, fingerprints, and accumulated grime.
Pay particular attention to surfaces around the stove, cabinet handles, and frequently touched edges.
Rinse when required by the cleaner’s instructions and allow everything to dry completely.
Avoid combining different cleaning chemicals, especially bleach-containing products.
Step 3: Test the Existing Surface
Select an inconspicuous area and apply the intended preparation and coating system.
Allow the test patch to cure according to the manufacturer’s instructions before checking adhesion.
If the coating peels easily or develops bubbles, reconsider the primer or preparation method.
This small test is particularly valuable for laminate cabinets and glossy factory finishes.
Step 4: Degloss or Apply the Recommended Primer
If using a liquid deglosser, follow its instructions for application, ventilation, and recoating time. Some formulations require primer or paint application within a specified window.
Apply bonding primer evenly using a compatible brush or roller. Allow it to dry as directed. For approved all-in-one coatings, follow the manufacturer’s preparation requirements instead.
Step 5: Apply Thin, Even Paint Coats
Use a quality angled brush for recessed panels, detailed edges, and corners. A small microfiber or woven roller can produce an even finish on broad cabinet surfaces. Select the roller nap recommended for the coating.
Work from detailed areas toward larger flat sections. Avoid excessively thick coats, which can create drips, texture problems, and prolonged drying times.
Step 6: Respect Drying and Curing Times
Apply a second coat only after the manufacturer’s specified recoat interval.
Some specialized refinishing products permit recoating after approximately two hours under suitable conditions. Other cabinet enamels require considerably longer.
Remember that dry-to-touch does not mean fully cured.
Reinstall hardware carefully and avoid scrubbing or heavy use until the finish has developed sufficient hardness.
Choosing Paint That Survives Everyday Kitchen Use
Cabinet paint should withstand repeated handling, occasional splashes, and routine cleaning.
Waterborne alkyd enamels and quality acrylic-urethane cabinet coatings are popular options because they provide a durable, washable finish.
When updating kitchen surfaces, it is equally important to consider how nearby materials handle cooking heat and everyday wear, particularly when choosing a peel-and-stick backsplash behind the stove.
Satin and semi-gloss finishes are practical choices, although sheen preferences depend on cabinet style and surface imperfections.
Choose a coating specifically recommended for cabinets, doors, or trim rather than relying on ordinary wall paint.
Indoor air quality deserves attention as well. The American Lung Association explains that paints and related finishing materials may release volatile organic compounds.
Choose lower-emission products where practical, maintain ventilation, and follow all safety instructions.
Mistakes That Can Ruin an Otherwise Good Paint Job
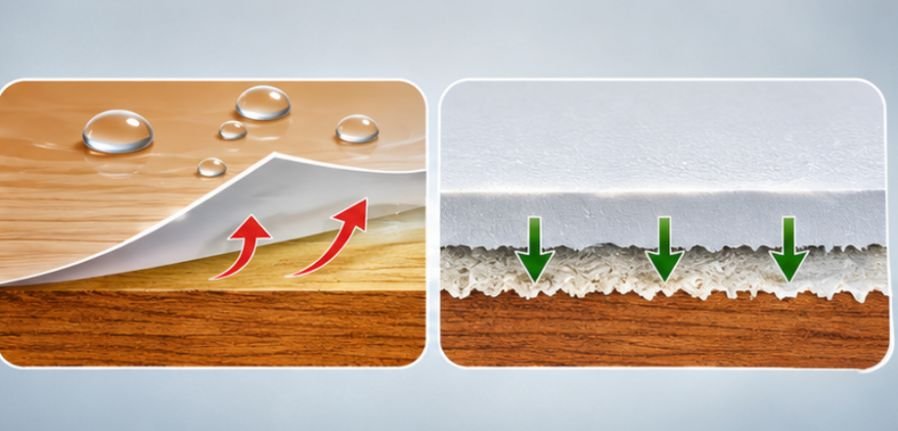
Several preventable problems explain why newly painted cabinets sometimes begin peeling within months.
Skipping the Grease Removal
Even expensive primer cannot reliably compensate for a greasy surface. Cleanliness is essential for adhesion.
Painting Over Loose Coatings
Fresh paint cannot stabilize severely peeling varnish, deteriorating laminate, or damaged thermofoil. These problems require repair or removal of unstable material.
Ignoring Older Paint Hazards
Cabinets in homes built before 1978 deserve special caution. The Environmental Protection Agency warns that disturbing lead-based paint during renovations can produce hazardous dust.
Homeowners should investigate possible lead coatings before sanding or scraping. Professional lead-safe assistance may be appropriate.
Overlooking Ventilation
The CDC’s National Institute for Occupational Safety and Health emphasizes ventilation and appropriate protective measures when working with paints and surface coatings.
Use suitable gloves, follow product-specific protection requirements, and keep children and pets away from the work area.
Frequently Asked Questions
1. Can I paint kitchen cabinets without sanding or stripping?
Yes. Compatible all-in-one coatings or bonding primers may eliminate traditional sanding and stripping. Thorough cleaning, surface inspection, and an adhesion test remain essential.
2. What is the best paint for kitchen cabinets?
Cabinet-grade acrylic-urethane and waterborne alkyd enamels are strong options. Choose a coating compatible with the cabinet material and the recommended primer.
3. How long should painted cabinets cure?
Curing varies by product, temperature, humidity, and coating thickness. Some finishes require several days or longer before they can withstand regular cleaning and heavy handling.
4. Can I paint over glossy kitchen cabinets?
Yes, provided the coating system supports glossy surfaces. Liquid deglosser or a compatible bonding primer may improve adhesion without removing the original finish.
The Final Brushstroke
A successful cabinet transformation is less about removing everything old and more about creating the right foundation for something new.
Understanding how to paint kitchen cabinets without stripping them allows homeowners to preserve usable cabinetry while achieving an updated appearance.
The most important investment is not necessarily the most expensive paint. It is the time spent cleaning thoroughly, checking compatibility, applying thin coats, and allowing the finish to cure.
Before committing to every cabinet door, complete one carefully prepared test area. That small experiment can reveal whether your chosen system will deliver the attractive, durable results your kitchen deserves.